
The Microsoft Lync phones are by majority the Polycom CX600. This guide will cover the standard installation procedures of the phone and headsets.
Installing the Lync phone – Polycom CX600
On the back of the phone you will notice that there are two network interfaces which work as a basic network switch. One is labeled LAN and the other PC. The LAN port connects to the network jack in the wall that connects to the network switches (this port also powers the phone via POE) and the PC network interface connects to the workstation. The USB port also connects to the workstation’s usb port for the phone-tethering features with the Lync client, although its not required for the phone to make and receive phone calls it is recommended for the full end-user experience. It’s recommended that the unlock PIN is initially set for the user and a follow-up is made with the user for the USB tethered authentication, at this point advise the user to reset the phone unlock PIN for security purposes. The headset and 24V jacks are not used at this time.
1. Unpack and assemble the phone.
2. Connect the LAN port to the network port in the wall (or floor).
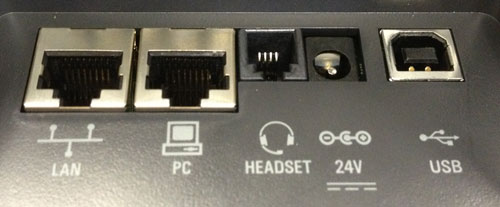
3. Connect the PC network interface to the workstation network port but do not plugin the USB port at this step (see step 8).
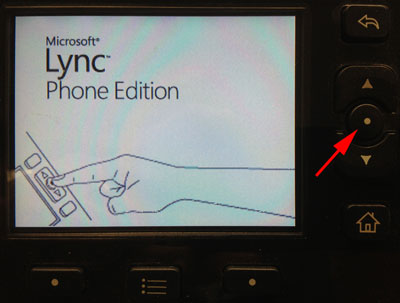
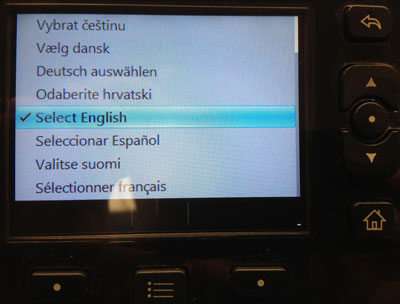
4. As soon as the phone powers up, you will see the welcome screen which shows ‘Lync Phone Edition’. Press the circular “Select” button. Select English as the language.
5. Enter the user’s extension and select Next.
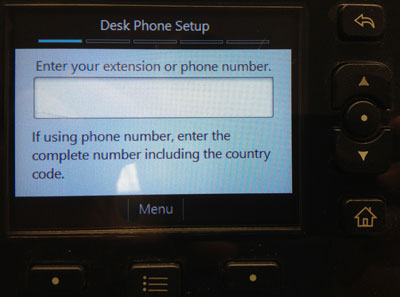
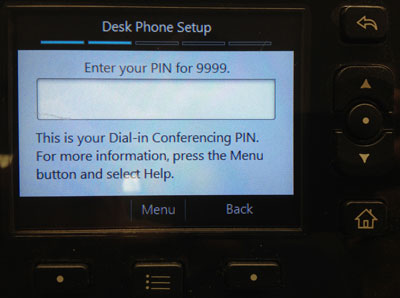
6. Enter the 5-digit phone PIN (this will be provided by DO IT) and select Sign In.
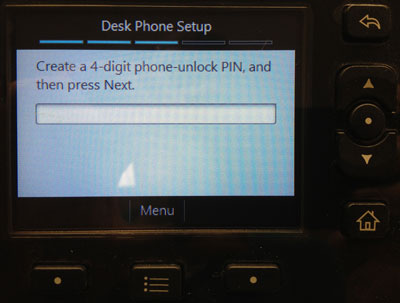
7. The phone may take several minutes to Sign In with the Lync servers. Upon successful authentication you will be asked to create a 4-digit unlock PIN for the user. Create and note a temporary phone unlock PIN for the user.
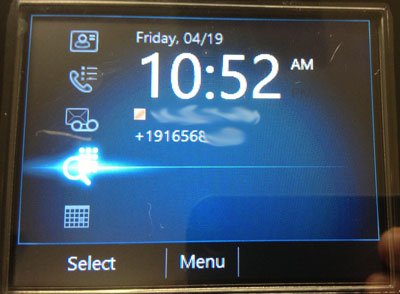
When you see this home screen, the phone successfully registered into the system. Perform an inbound and outbound call from this phone.
At this time the phone can make and receive calls even though it may be locked. If the phone has a user (non-common-area phone) then proceed to the next step.
Note: It’s recommended that you leave a note on the phone (.docx template located here) if you are provisioning phones when the user is absent. This informs the user that a tech will return to tether the phone via USB and gives them the temporary phone lock PIN.
8. Follow-up with the user for the USB tethered option. Have the user sign into the workstation and run the Lync client.
9. Plug the phone into the USB port and connect it to the workstation.
10. The user will be prompted to enter credentials on their workstation. Have the user enter their user AD credentials and the phone is ready to make and receive calls with enhanced features.
11. If the phone is locked, unlock it with the pre-created temporary 4-digit unlock-PIN and advise the user to reset their phone unlock PIN.
To reset the phone’s (known) unlock PIN:
- Unlock the phone with the current phone unlock-PIN.
- From your phone’s Home screen, select Menu > Settings.
- Scroll down to Phone-Unlock PIN, click Select and follow the onscreen instructions.
Troubleshooting the Polycom CX-600 Phone
- Verify the phone has an IP address and is in VLAN 4050 (4060 for CRC) by pressing Menu and navigating to System Information.
- The phone rebooted after I installed it all on its own! A. This is normal, the phone checks-in with the Lync servers for new firmware after approximately 10 minutes of inactivity, if a new version is available then the phone automatically updates itself and reboots.
If the user forgot their phone’s 4 digit unlock-PIN a phone reset will need to be performed:
- unplug the phone’s LAN network cable.
- Press and hold the * (star) and # (pound) buttons simultaneously while plugging the phone’s LAN cable back in, continue holding the star and pound button until you get a prompt asking “The operation you have requested will erase all user-created date. Do you want to continue?“
- Select Yes.
- The phone will take several minutes to configure itself and reboot, you will need to re-provision the phone by following the “Installing the Lync Phone” instructions above.
Installing the Microsoft LX-6000 USB headset
The Microsoft LX-6000 headset does not require any software to function. Simply plugin the headset into an available USB port on the workstation and after the computer detects the headset, it’s ready to make and receive calls.
Installing the Plantronics 510 USB headset
1. Install the Plantronics Spokes software.
2. Plugin the headset into an available USB port on the workstation and after the computer detects the headset, it’s ready to make and receive calls.
Installing the Plantronics UC Wireless USB headset
1. Install the Plantronics Spokes software.
2. Plugin the bluetooth dongle into an available USB port on the workstation and wait until the computer detects the dongle.
3. Turn the power On in the wireless headset via the power rocker switch.
4. The headset will connect pair with the computer and it’s ready to make and receive calls.
This entry was posted on .